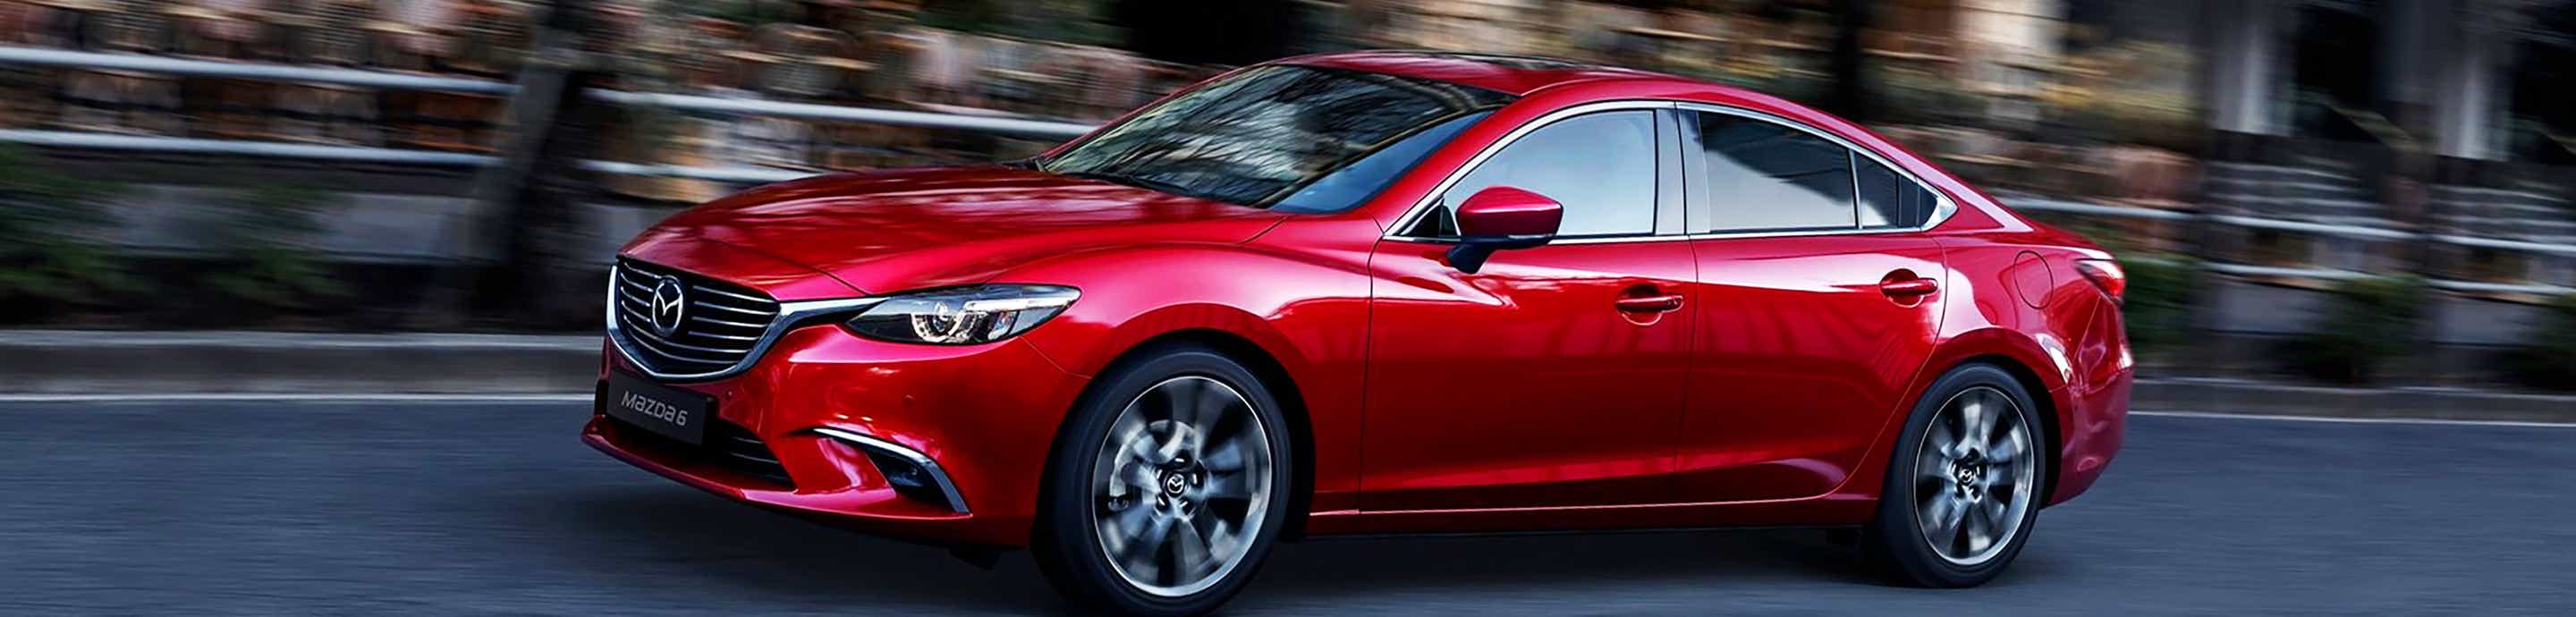

I thought I would share my most recent mod, LED switchback turn signals I installed today.
I purchased theseLED Switchbacks from eBay since they had the most lit leds I could find. They have 60 Dual Chip White & Amber LEDs. They light up 60 amber and 60 white at a time. I went ahead and took the chance from an eBay seller and Im pretty well pleased how they turned out. The quality of the bulbs is pretty decent. They are very bright even in the daytime and light up well at night. I think they compliment the low beams nicely too.
![Image]()
Installation was pretty easy although I did have to shave some of the base off with a dremel tool to make the bulb fit. The bulb measured just about right at 2 inches. The light housing allows for a max bulb height of 1 7/8 inch so I didn't have to shave very much off. The bulbs came with a pair of 50w 6 ohm resistors with quick connects which are needed in order to prevent hyperflash.
I mounted the resistors right on the struts above the headlights using double sided tape and connecting one side to a blue wire (or light blue) and the other side to a black ground wire. The wires are easy to get to if you pull back some of the tape connecting them on either side of where the main headlight connector is. The driver side is easy to get to but the passenger side will require you to remove the two screws holding down the coolant reservoir. I wrapped everything with electrical tape when I finished. Heres where I installed them.
![Image]()
![Image]()
Here are some pics in the day...Looks brighter but the picture didnt capture too well here
![Image]()
![Image]()
And then at night...
Only switchbacks on
![Image]()
![Image]()
The camera makes it look more blue at night...
![Image]()
And with oem hid headlights on...
![Image]()
Blinkers...
![Image]()
Added Pictures showing amber signals with OEM HID headlights on
![Image]()
![Image]()
![Image]()
And Here is also a video I made to show in action
----------->
Added Video Part 2 showing Amber turn signal with headlights on
I purchased theseLED Switchbacks from eBay since they had the most lit leds I could find. They have 60 Dual Chip White & Amber LEDs. They light up 60 amber and 60 white at a time. I went ahead and took the chance from an eBay seller and Im pretty well pleased how they turned out. The quality of the bulbs is pretty decent. They are very bright even in the daytime and light up well at night. I think they compliment the low beams nicely too.

Installation was pretty easy although I did have to shave some of the base off with a dremel tool to make the bulb fit. The bulb measured just about right at 2 inches. The light housing allows for a max bulb height of 1 7/8 inch so I didn't have to shave very much off. The bulbs came with a pair of 50w 6 ohm resistors with quick connects which are needed in order to prevent hyperflash.
I mounted the resistors right on the struts above the headlights using double sided tape and connecting one side to a blue wire (or light blue) and the other side to a black ground wire. The wires are easy to get to if you pull back some of the tape connecting them on either side of where the main headlight connector is. The driver side is easy to get to but the passenger side will require you to remove the two screws holding down the coolant reservoir. I wrapped everything with electrical tape when I finished. Heres where I installed them.


Here are some pics in the day...Looks brighter but the picture didnt capture too well here


And then at night...
Only switchbacks on


The camera makes it look more blue at night...

And with oem hid headlights on...

Blinkers...

Added Pictures showing amber signals with OEM HID headlights on


And Here is also a video I made to show in action
----------->


